 Save
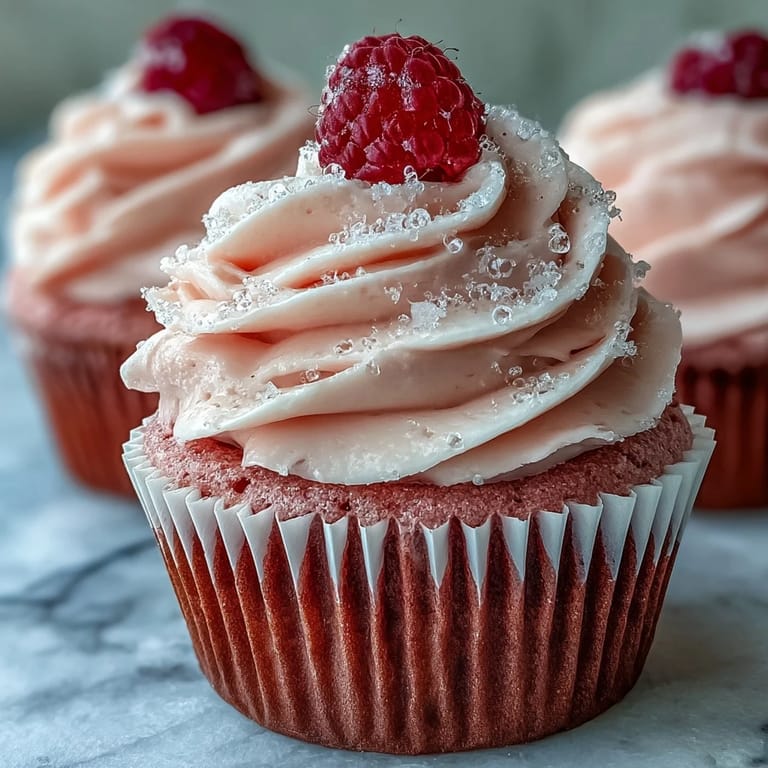
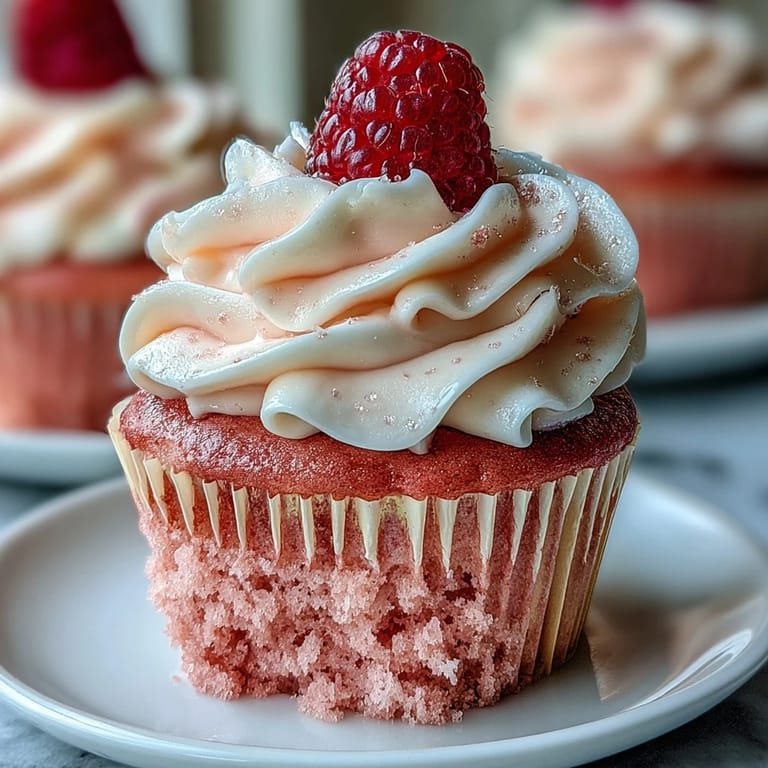
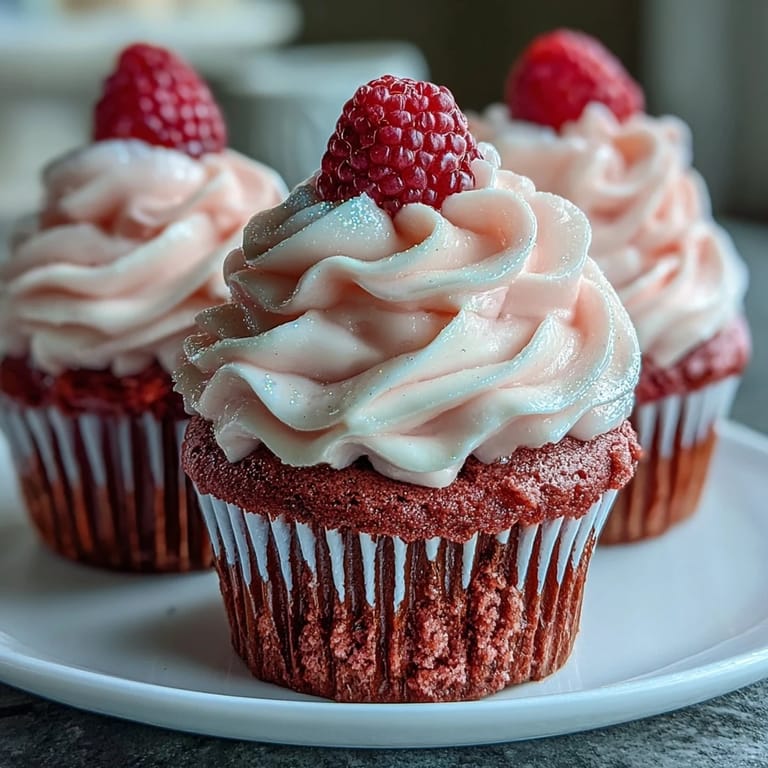
Save My friend texted me last Valentine's Day asking if I could bring something pink to her dinner party, and without overthinking it, I decided to bake these velvet cupcakes. There's something about the way the batter transforms from pale to blush when you add that gel coloring—it feels like you're creating something magical right there in the bowl. The first batch came out impossibly tender, with that subtle tang from the vinegar that makes people pause mid-bite and ask what's different. These cupcakes became the thing everyone requested, and now they're my go-to whenever I want to feel like I'm sharing something a little bit special.
There was this one afternoon when I made these for my coworkers' potluck, and I remember standing in the office kitchen watching three people reach for a second one. One person said it tasted like eating a cloud, and I've never forgotten that description because it's exactly what I was going for. That moment made me realize these cupcakes do something beyond taste—they create this little spark of joy that lingers.
Ingredients
- All-purpose flour: The foundation that keeps these cupcakes tender rather than cakey, and the cornstarch works alongside it to soften the crumb even more.
- Granulated sugar: Don't skip the creaming step—this is where air gets incorporated, making them fluffy.
- Cornstarch: This is the secret ingredient that gives you that velvet texture; it tenderizes without making the cupcakes fall apart.
- Baking soda: Works with the vinegar to create lift and a subtle tang that balances the sweetness.
- Buttermilk: Must be room temperature so it blends smoothly and doesn't shock the batter.
- Vegetable oil and unsalted butter: Together they create a moisture-rich crumb that stays soft for days.
- Eggs: Room temperature eggs mix in more easily and create a better emulsion with the wet ingredients.
- Vanilla extract: Use real vanilla if you can—it adds depth the artificial version can't quite reach.
- White vinegar: This reacts with the baking soda and adds a whisper of tang that makes the pink flavor pop.
- Pink gel food coloring: Gel holds its intensity better than liquid coloring, and a little goes a long way.
- Cream cheese and butter for frosting: Both must be softened or you'll end up with a grainy, lumpy frosting instead of the silky cloud you're after.
- Powdered sugar: Sift it first—lumps hide in there and wreck the frosting's texture.
Tired of Takeout? 🥡
Get 10 meals you can make faster than delivery arrives. Seriously.
One email. No spam. Unsubscribe anytime.
Instructions
- Get your station ready:
- Preheat to 350°F and line your muffin tin with liners. This temperature is gentle enough to bake these cupcakes evenly without browning the edges too quickly.
- Build your dry base:
- Whisk flour, cornstarch, baking soda, and salt together in a medium bowl and set it aside. This mixing ensures the leavening is evenly distributed.
- Cream the wet ingredients:
- Beat butter, oil, and sugar together until the mixture looks pale and fluffy, roughly two minutes. You should see it transform from dense to airy.
- Incorporate the eggs:
- Add eggs one at a time, beating after each one so they fully emulsify. This step takes patience but it's what keeps the cupcakes from being dense.
- Add vanilla and vinegar:
- Mix these in completely—the vinegar won't taste like vinegar, it just brightens everything.
- Color your batter:
- Start with one teaspoon of gel coloring and stir it in thoroughly before deciding if you need more. Gel coloring is potent, so go slowly.
- Alternate the wet and dry:
- Add flour mixture and buttermilk in three stages, starting and ending with flour. Mix just until you don't see white streaks—overmixing develops gluten and toughens the cupcakes.
- Fill the liners:
- Divide batter evenly, filling each liner about two-thirds full. Even distribution means even baking.
- Bake with patience:
- Bake for 18–20 minutes until a toothpick comes out clean. They'll look barely set on top, which is exactly right.
- Cool strategically:
- Let them sit in the pan for five minutes so they set slightly, then transfer to a wire rack. Cooling completely prevents the frosting from melting.
- Make the frosting:
- Beat cream cheese and butter until they're completely smooth and creamy. Gradually add powdered sugar so you don't create clouds of it, then beat until light and fluffy.
- Frost with confidence:
- Use a piping bag for neat swirls or a spatula for a more casual look. Either way, generous frosting is the right call.
- Decorate freely:
- Add sprinkles, edible glitter, or fresh berries while the frosting is still soft so they stick. This is where you make them your own.
 Save
Save One time I brought these to a bake sale at my daughter's school, and a parent asked for the recipe right there in the parking lot. We stood by my car talking about how her kids would actually eat something pink if she made it herself, and I realized these cupcakes had somehow become a bridge between people. That's when I knew they were worth making again and again.
The Science of Velvet
The term velvet cake originally comes from the smooth, velvety crumb you get when you combine flour with cornstarch. The starch inhibits gluten development, which means less chewing and more dissolving-on-your-tongue magic. Adding vinegar to a batter with baking soda creates carbon dioxide bubbles that make the cupcakes rise gently. The oil keeps things moist longer than butter alone would, which is why this combo works so well.
Storage and Make-Ahead Magic
These cupcakes are actually better the next day because the flavors settle and the crumb becomes even softer. Unfrosted cupcakes can be frozen for up to a month wrapped tightly in plastic wrap, then thawed at room temperature before frosting. Frosted cupcakes last about three days in the refrigerator, though bringing them to room temperature before eating makes them taste fresher and less like cold dessert.
Flavor Pairing and Celebration Ideas
These pink cupcakes pair beautifully with sparkling rosé, berry lemonade, or even a simple cup of tea. They fit any celebration that calls for something a little bit fancy but not pretentious, and they're just as welcome at a casual Tuesday gathering as they are at an actual party. The sweetness of the frosting balances perfectly with something slightly tart or effervescent.
- Serve them at room temperature so the frosting has that cloud-like texture instead of being firm.
- Top with fresh raspberries or strawberries for a moment when people feel like they're eating something from a fancy bakery.
- Make them a day ahead so you can frost them in the morning and focus on other things before guests arrive.
 Save
Save These cupcakes have taught me that the simplest recipes are often the ones that matter most, because they're easy enough to make when someone needs cheering up. There's real magic in a warm cupcake with smooth frosting and the knowledge that you made it yourself.
Recipe FAQs
- → What gives the cupcakes their pink color?
Pink gel food coloring is used to achieve the vibrant pink shade without altering the batter’s texture or flavor significantly.
- → How do I keep the cupcakes moist?
Incorporating buttermilk and vinegar helps tenderize the crumb, resulting in moist, fluffy cupcakes.
- → Can I store these cupcakes in advance?
Yes, store frosted cupcakes in the refrigerator for up to 3 days. Allow them to come to room temperature before serving for best texture.
- → What decorations work well with these cupcakes?
Decorations like pink or red sprinkles, edible glitter, and fresh raspberries or strawberries pair beautifully with the frosting.
- → What tools are needed to prepare these cupcakes?
An electric mixer, mixing bowls, measuring cups and spoons, muffin tin, cupcake liners, cooling rack, and a piping bag or spatula are required.