 Save
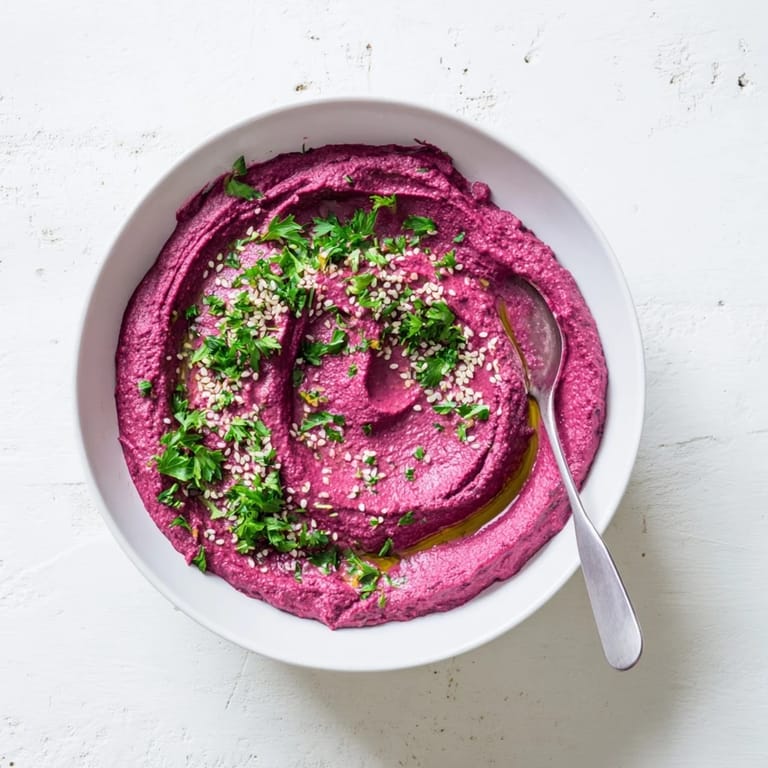
Save The first time I made beet hummus, I accidentally stained my favorite wooden cutting board a shocking shade of magenta. I was hosting a last-minute dinner party and needed something impressive but effortless. When my friends walked in, they literally stopped mid-conversation to ask what that gorgeous pink dip was on the counter. Now it is my go-to crowd-pleaser that looks like it took hours to make.
Last summer, I brought a batch to a potluck and watched it disappear in under twenty minutes. My friend Sarah, who swore she hated beets, went back for thirds. There is something magical about how the earthy beet flavor mingles with bright lemon and creamy tahini. It converts beet skeptics into believers every single time.
Ingredients
- 1 medium beet: Roasting concentrates the natural sugars and gives that stunning color without any artificial dyes
- 1 small garlic clove: Use fresh garlic rather than jarred for the best aromatic punch
- 400 g chickpeas: Rinse them thoroughly to remove the canning liquid which can affect flavor
- 3 tbsp tahini: Room temperature tahini blends smoother and creates that luxurious creamy texture
- 2 tbsp fresh lemon juice: Fresh is absolutely essential here, bottled juice will taste flat and sad
- 2 tbsp extra-virgin olive oil: Adds richness and helps achieve that silky consistency
- ½ tsp ground cumin: Toast your cumin in a dry pan first for an extra layer of warm, nutty flavor
- ¼ tsp sea salt: Start with less and taste, you can always add more but cannot take it back
- 2–3 tbsp cold water: The secret ingredient that transforms thick paste into airy, dip-worthy perfection
Tired of Takeout? 🥡
Get 10 meals you can make faster than delivery arrives. Seriously.
One email. No spam. Unsubscribe anytime.
Instructions
- Roast the beet to perfection:
- Wrap that cleaned beet tightly in foil like a little present and let it roast at 200°C until a fork slides through it like soft butter, usually about 40 minutes. Let it cool completely or your hummus will end up sad and warm instead of refreshingly chilled.
- Blend the base:
- Throw the roasted beet, chickpeas, garlic, tahini, lemon juice, olive oil, cumin, and salt into your food processor and let it run until everything is completely combined. Stop to scrape down the sides a few times so every bit gets incorporated evenly.
- Add water for silkiness:
- With the motor still running, drizzle in cold water one tablespoon at a time until the hummus becomes light and creamy. Watch the texture transform before your eyes from thick paste to something irresistible and smooth.
- Season to your taste:
- Taste and adjust with more salt or lemon juice until it hits that perfect balance of tangy, savory, and slightly sweet. Trust your palate here and do not be afraid to make it your own.
- Serve with style:
- Transfer to a pretty bowl and drizzle generously with good olive oil, maybe some chopped parsley, sesame seeds, or extra cumin if you want to impress your guests.
 Save
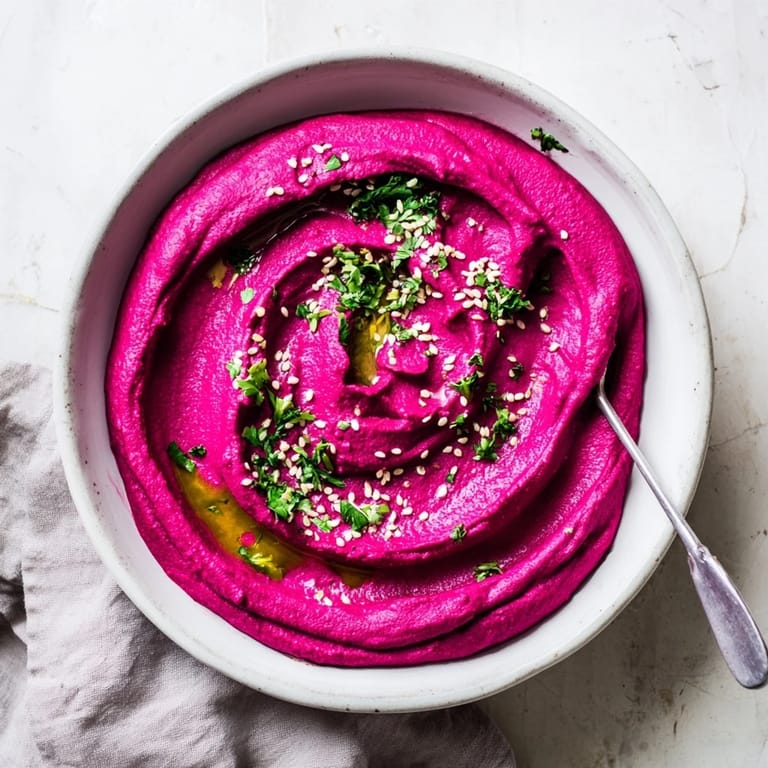
Save My sister now requests this for every family gathering, and I have to hide some away if I want leftovers for lunch the next day. It has become one of those recipes that feels like part of my kitchen story now.
Make It Your Own
Sometimes I add a roasted red pepper along with the beet for extra depth and an even more gorgeous color. A pinch of smoked paprika transforms it into something entirely different, with this smoky undertone that keeps people guessing what makes it so special.
Serving Suggestions
This hummus deserves more than stale crackers from the back of your pantry. Warm some pita bread in the oven until it is puffy and golden, or slice up crisp cucumber, bell peppers, and carrots for freshness. I have even spread it on sandwiches instead of mayo, which has ruined regular lunch meat sandwiches for me forever.
Storage And Meal Prep
This keeps beautifully in the refrigerator for up to four days, assuming you do not eat it all straight from the bowl with a spoon like I sometimes do. The flavors actually develop and marry together after a day, making it even more delicious as leftovers.
- Store in an airtight container and drizzle a thin layer of olive oil on top to keep it fresh
- Bring it to room temperature for 15 minutes before serving to let the flavors wake up
- If it thickens in the fridge, stir in a teaspoon of water to bring back that creamy texture
 Save
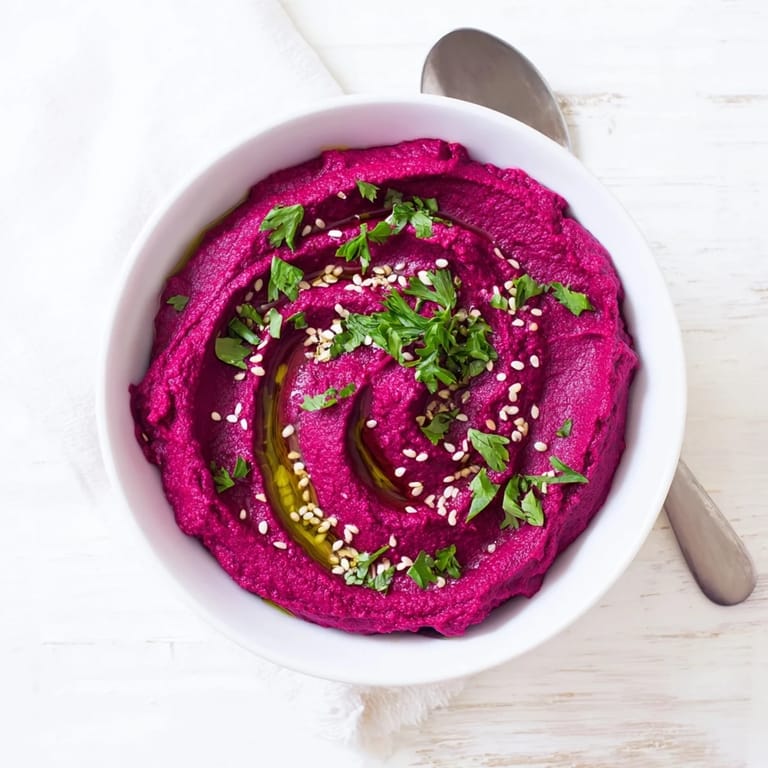
Save There is something deeply satisfying about making something so beautiful and delicious from such humble ingredients. I hope this recipe becomes a staple in your kitchen like it has in mine.
Recipe FAQs
- → Can I use canned beets instead of fresh?
Yes, you can substitute canned beets to save time. Drain them well and pat dry before blending. However, fresh roasted beets provide deeper, sweeter flavor and better texture.
- → How long does this keep in the refrigerator?
Store in an airtight container for up to 4 days. The flavors actually develop and improve after a day. Give it a good stir before serving as some separation may occur.
- → What can I serve with roasted beet hummus?
Pair with warm pita bread, pita chips, carrot sticks, cucumber slices, bell pepper strips, or crackers. Also works beautifully as a spread on sandwiches or wraps with roasted vegetables.
- → Can I freeze this hummus?
Yes, freeze in an airtight container for up to 3 months. Thaw overnight in the refrigerator. The texture may become slightly grainy after freezing—simply blend with a teaspoon of water to restore creaminess.
- → How do I get the smoothest consistency?
Blend thoroughly, scraping down the sides multiple times. Adding cold water while the motor runs helps achieve creamy texture. For ultra-smooth results, peel the beet completely and blend for 2-3 minutes.
- → Can I make this without tahini?
You can substitute tahini with almond butter, sunflower seed butter, or Greek yogurt for different flavors. However, tahini provides the most authentic taste and creamy Middle Eastern profile.